Tutorials - Gaffer
- Alan Stanzione
This section contains a tutorial about Atoms Katana workflow
Downlaod atomsGaffer from here: https://github.com/Toolchefs/atomsGaffer
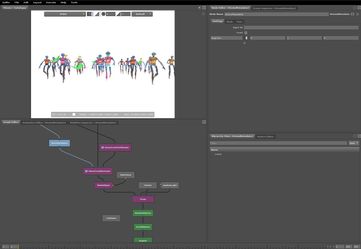
Import an atoms cache
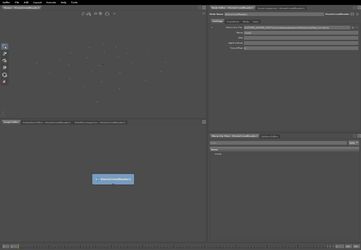
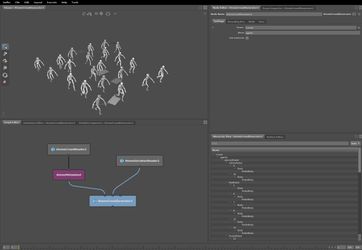
In order to render an Atoms cache in Gaffer, you should use the atoms proxy node. First, create an atoms cache in Maya or Houdini.
- Create an "AtomsCrowdReader" node.
- In the "Atoms Sim File" parameter set the cache file to "${ATOMS_GAFFER_ROOT}/examples/assets/atomsRobot/cache/test_sim.atoms" or any other atoms cache.
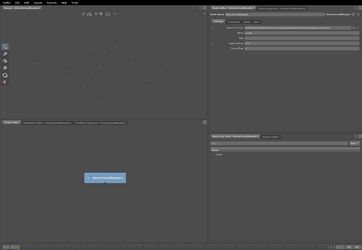
- Change the "Time offset" attribute if you want to change the start frame.
The AtomsCrowdReader node generates a point cloud from the input cache. It also loads some of the agent metadata as vertex attributes on the point cloud. You can modify this attributes with gaffer nodes in order to change the agent metadata.
Filter agents
To filter agents using their ids:
- Set the "Agent Indices" parameter to "2-4" or "!(2-4)".
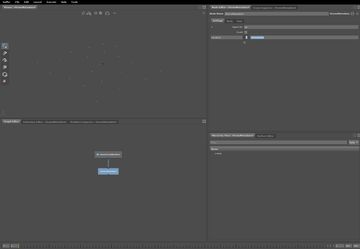
Set agent metadata
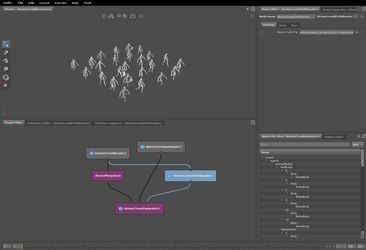
- Create an "AtomsMetadata" node and connect it to the output of the AtomsCrowdReader node. This node change the agent metadata changing the atoms:* vertex attribute of the point cloud
- Set the "Agent Indices" parameter to "16" in order to modify the metadata of the agent 16 (use '-' to set a range or ! to exclude agents like 1,2-5 or !6, !9-12). Leave the parameter empty if you want to change the metadata for every agent.
- Add a new string attribute to the node.
- Set "variation" inside the key field and "YellowRobot" inside the value field. This will override the variation of the agents.
You can use multiple "AtomsMetadata" node to modify/create agent metadata
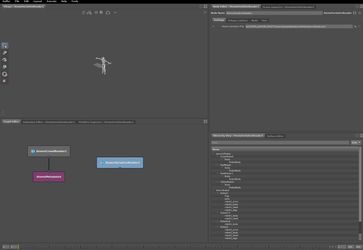
Import Variations
Atoms Gaffer can import the atoms mesh from an atoms variation table and translate it to gaffer mesh.
- Create an "AtomsVariationReader" node.
- Set the "Atoms Variation File" parameter to "${ATOMS_GAFFER_ROOT}/examples/assets/atomsRobot/atomsRobot.json" or any other variation file.
The variation reader load all the mesh from the variation table using /agentTypeName/VariationName/MeshName as herarchy.
Generate skinned mesh
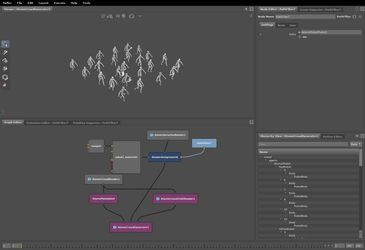
- Create an "AtomsCrowdGenerator" node.
- Connect the point cloud generate from the "AtomsCrowdReader" node to the first input of the AtomsCrowdGenerator.
- Connect the output of the "AtomsVariationReader" to the second input of the AtomsCrowdGenerator.
The AtomsCrowdGenerator uses the agent's pose data stored inside the point cloud to deform the meshes loaded from the variation reader. To improve the performance try to turn on the "Use Instances" parameter to use instances for the agents with the same pose.
Import a cloth cache
- Create an "AtomsCrowdClothReader" node.
- Set the "Atoms Cloth FIle" to "${ATOMS_GAFFER_ROOT}/examples/assets/atomsRobot/cloth_cache/cloth_sim.clothcache" or any other cloth cache.
- Connect the input to the output of the "AtomsCrowdReader".
- Connect the output to the third input of the "AtomsCrowdGenerator".
Assign materials
You can assign material or your lookdev after the AtomsVariationReader node and before the AtomsCrowdGenerator. Use the normal gaffer material assignment workflow.
Use metadata inside a material
You can use agent metadata to drive material attribuites
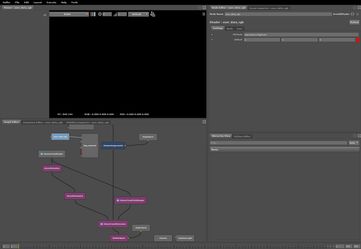
- Create a "ShaderAssignment" node and connect it after the "AtomsVariationReader" and before the "AtomsCrowdGenerator".
- Create a "standard_surface" arnold node and connect to the shader assignment node.
- Add a path filter to the shader assignment and set it to "/atomsRobot/Robot1/flag".
- Create a "user_data_rgb" node and connect it to the base color of the standard material, Set its "attribute" parameter to "user:atoms:flagColor" and its value to 1,0,0.
The "user_data_rgb" node need a "user:atoms:flagColor" attribute on the mesh. The "AtomsCrowdGenerator" transfer the agent's metadata to the skinned mesh as gaffer attribute on the skinned mesh. So we need to create this metadata on the agents.
- Create an "AtomsMetadata" node and connect it to the output of the AtomsCrowdReader node.
- Add a new V3f attribute to the node.
- Set "flagColor" inside the key field and "0,1,0" inside the value field. This will override the flag color.
Copyright © 2017, Toolchefs LTD.